 Zhida Plastic Machinery
Plastic machinery rarely fails without warning. A slipping feed throat, unstable melt pressure, or cloudy molded part usually leaves physical clues. This introduction to How to Fix Common China Plastic Machinery Problems? presents a practical Plastic Machinery Troubleshooting Guide for operators, maintenance teams, and production managers. It focuses on injection molding machines, extruders, dryers, temperature controllers, and auxiliary equipment.
Dr. Chris Rauwendaal, a respected polymer-processing consultant, offers a useful troubleshooting principle: “Troubleshooting starts with accurate observations.” That principle matters on a noisy factory floor. Record the actual barrel temperatures, screw speed, cycle time, hydraulic pressure, material batch, and alarm history. Do not trust one display alone. Compare the machine settings with the finished product. A short shot may suggest low injection pressure, but poor drying or restricted material flow may be responsible.
Look for details. Check whether the hopper contains bridging pellets. Feel for unusual vibration near the gearbox. Inspect cooling lines for weak flow or blocked filters. Listen for a pump that changes pitch during the cycle. These small signs often reveal more than a hurried reset. Resetting the alarm can restore production briefly. It does not repair the cause.
Not every fault has a neat answer. That is the uncomfortable part. A temperature reading may be correct while the melt remains uneven. A new component may also be installed incorrectly. This guide encourages controlled testing, one change at a time, with proper maintenance procedures and manufacturer instructions. Careful records build experience. Honest reflection prevents repeated mistakes and supports safer, more reliable production.
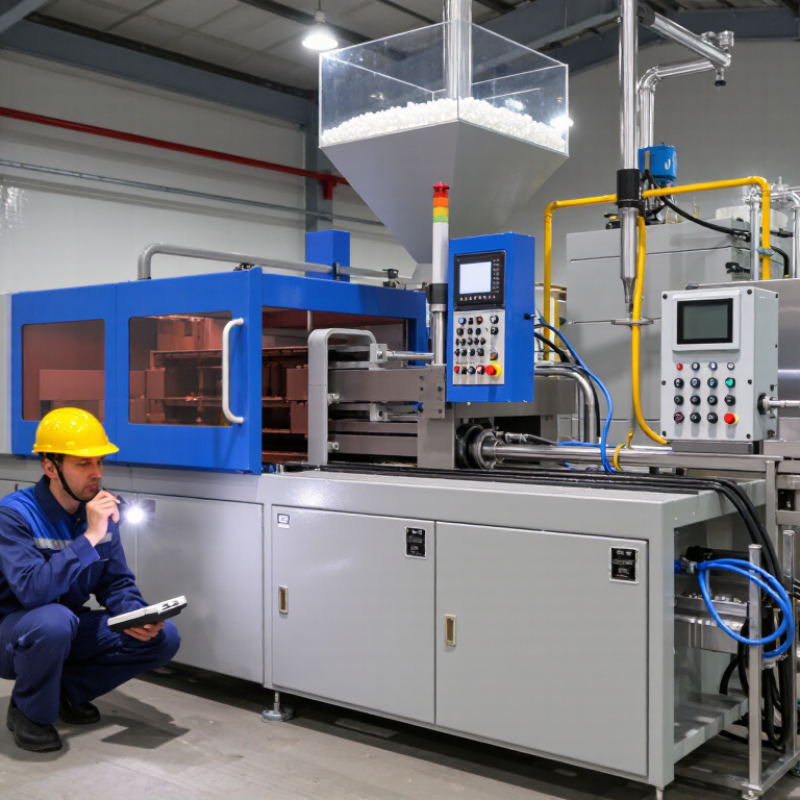
Plastic machinery faults rarely come from one part alone. A 5M1E review helps maintenance teams examine Man, Machine, Material, Method, Measurement, and Environment. For example, uneven injection pressure may involve a worn screw, damp resin, incorrect settings, or unstable workshop temperature. Check each possibility before replacing expensive components.
Reliable diagnosis needs continuous evidence. A 24/7 machine data system can record barrel temperature, injection pressure, motor current, vibration, cycle time, and alarm history. Time-stamped trends reveal gradual changes that operators may miss during a busy shift. A rising motor current, combined with longer cycles, may indicate increasing mechanical resistance. A sudden pressure spike may point to blocked flow or inconsistent material feeding.
Keep the process practical. Set a normal baseline for each machine and compare new readings against it. Confirm sensors regularly, because inaccurate measurement creates confident but wrong decisions. Operators should also record material batches, cleaning work, tooling changes, and unusual sounds. Short notes matter. Data alone is not enough.
One weakness in many maintenance plans is overreacting to the first alarm. That approach can hide the real cause. Review the evidence with production, quality, and maintenance staff together. Then test one corrective action at a time and observe the next production cycles. Perfect diagnosis is uncommon, but disciplined records make repeated failures easier to understand.
It examines Man, Machine, Material, Method, Measurement, and Environment. A worn screw may not be the only cause. Damp resin, wrong settings, or room temperature can also affect pressure. Check every factor before replacing expensive parts.
Record barrel temperature, injection pressure, motor current, vibration, cycle time, and alarm history. Use time-stamped trends. Rising motor current and longer cycles may show growing mechanical resistance. A sudden pressure spike may indicate blocked flow or uneven feeding.
Record normal readings during stable production. Compare new data with that baseline. Check sensors regularly, because inaccurate measurements create confident decisions. Those decisions may still be wrong.
Record material batches, cleaning work, tooling changes, and unusual sounds. A short note can explain a later pressure change. Data alone is not enough. Sometimes, the forgotten detail matters most.
PET resin should normally reach moisture below 0.02%, or 200 ppm. Use a dryer with a stable dew point. Check the actual air condition, not only the display setting. Keep resin exposure to humid air brief.
Watch for fluctuating feed rates, resin bridging, bubbles, and unstable melt pressure. These symptoms often appear together. Inspect hopper seals, filters, and conveying lines. A later moisture test may challenge the original diagnosis.
During steady production, keep each barrel zone within ±2°C of its setpoint. Check thermocouple contact and loose terminals. Inspect heater bands, insulation, dust, and cooling lines. Small errors spread.
Compare controller readings with a recently calibrated reference thermometer. Record measurements every 10–15 minutes for at least one hour. Review screw speed, feed rate, back pressure, and ambient temperature. Change one control setting at a time. Do not guess.
This Plastic Machinery Troubleshooting Guide explains practical ways to solve common problems in China’s plastic processing equipment. Start by identifying root causes through 5M1E analysis—man, machine, material, method, measurement, and environment—while using 24/7 machine data to detect irregular trends early. Feeding instability, especially in PET processing, can often be reduced by controlling resin moisture below 0.02% before production.
Stable temperature control is also essential. Keeping each barrel heating zone within ±2°C helps prevent uneven melting, discoloration, and inconsistent quality. Injection defects can be minimized by adjusting pressure within approximately 70–140 MPa and selecting a suitable injection speed for the material and product design. Finally, preventive maintenance at 500–1,000-hour intervals can reduce unexpected downtime by addressing wear, contamination, lubrication, and calibration issues before they become serious failures. Combined, these measures improve machine reliability, product consistency, and production efficiency.
